
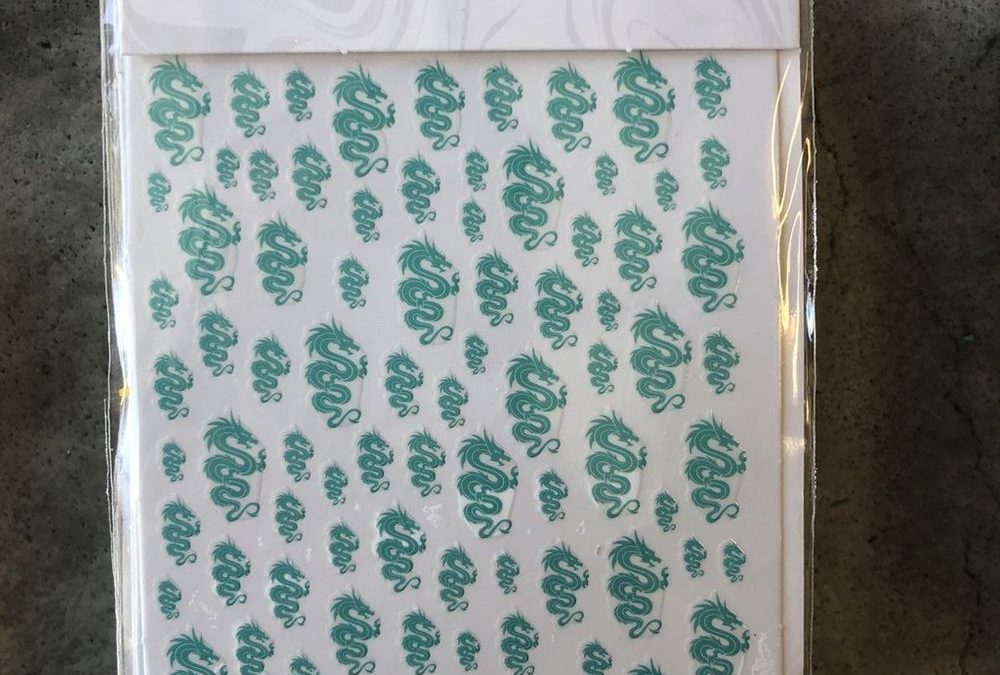
Dragon and snake motifs are a bold way to add personality to manicures. With the right prep and technique, a small sheet of decals can elevate a basic polish into a salon-ready look in minutes.
Why choose dragon nail art stickers for your next set
Dragon nail art stickers bring intricate line work and tiny details that are difficult to recreate freehand. They’re compact, affordable—this design often retails around $1.99—and ideal for designers who want a dramatic focal point without investing hours into painting.
What to know about the sticker design and finish
These stickers feature dragon and snake imagery scaled for nail tips; the artwork is pre-printed so placement becomes the main creative choice. Because they’re decals rather than loose embellishments, they lay flat and respond well to sealing with a top coat.
Step-by-step: apply decals like a pro
- Prep the nail. Remove oils with a gentle cleanser and push cuticles back so the entire nail is accessible.
- Create a clean base. Apply two thin coats of your chosen polish color and let it dry completely—or work over a cured gel layer if you prefer.
- Plan placement. Take a moment to arrange which dragon or snake motif suits each nail before removing the backing.
- Apply the sticker. Use tweezers to lift and lay the decal onto the nail, smoothing from center to edge to avoid air pockets.
- Trim and tuck. If the design extends past the free edge, use a small scissors or nipper to trim, then file gently to tuck the edge under for a seamless finish.
- Seal the look. Finish with a glossy or matte top coat to lock the decal in place and blend its edges into the nail surface.
Advanced placement ideas for salon-worthy creativity
- Use partial dragon motifs on accent nails and leave other nails minimal for contrast.
- Layer a sheer glitter or shimmer top coat over the decal for depth without obscuring detail.
- Combine with negative-space manicures—place the sticker so that parts of the nail remain bare for a modern twist.
Practical tips to make decals last longer
Work with very thin coats of polish beneath the decal and press the sticker down firmly before sealing. When trimming, avoid aggressive filing across the decal surface which can lift edges. If you need to remove the sticker, soak in polish remover or lift gently with an orange stick—avoid peeling to protect the nail plate.
Who will get the most from these designs
These dragon and snake stickers are perfect for nail artists who want dramatic art without a long painting session, clients seeking a statement manicure for an event, and hobbyists looking to expand their stash with versatile decals. They’re also a handy add-on retail item for salon checkouts—small, eye-catching, and easy to demonstrate.
If you want to view the exact sheet and add it to your kit, consider ordering this dragon nail sticker for a quick, affordable upgrade.
Care and safety notes
Use decals on clean, dry nails and avoid placing them on compromised or irritated nail beds. Always follow standard salon sanitation and removal practices. Keep decals dry and stored flat to prevent curling before use.
Quick troubleshooting
- Bubbling: Lift the decal gently, smooth out the air, and reseal with top coat.
- Edges lifting: File the free edge lightly and apply an additional top coat layer concentrated on the edge.
- Placement mistakes: Use a tiny bit of acetone on a brush to lift and reposition immediately before the decal fully adheres.
Whether you’re working at home or in a busy salon, dragon nail art stickers offer a fast route to dramatic, detailed manicures. With simple prep and careful sealing you can achieve clean, long-wearing results that feel luxe without the time investment.