
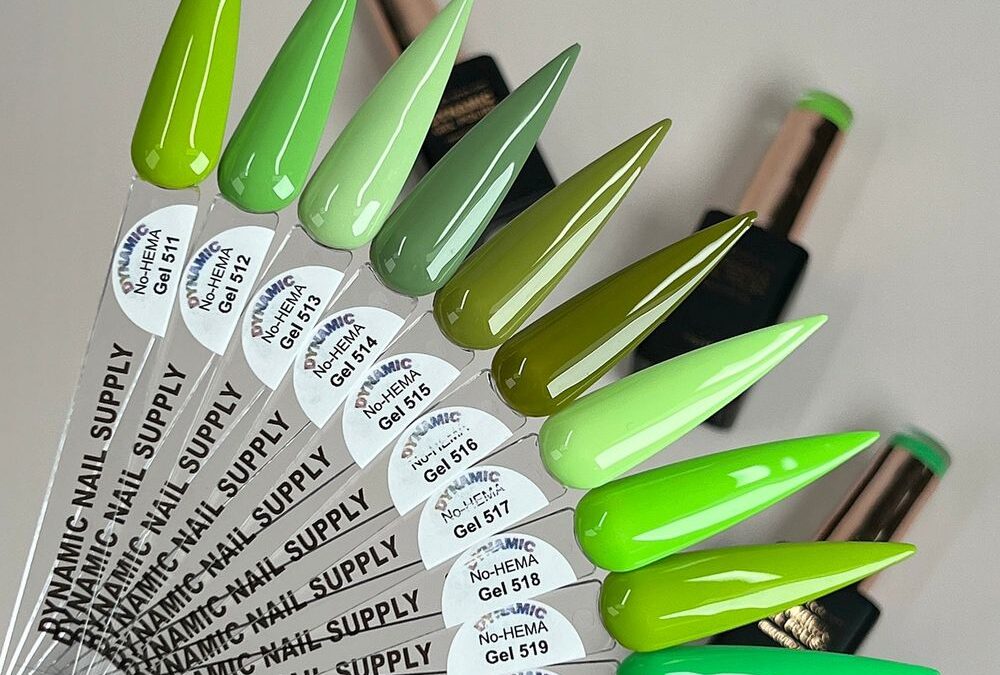
Clients ask for clean, wearable nail art that reads fresh but still photographs well — and we need a reliable, repeatable workflow that fits a full-service appointment. Botanical French tips green is a tight, serviceable brief: crisp free-edge work that uses pale mint and olive creams for a botanical twist.
Plan the service: roles and timing
We assign roles to two shades before we prep: a pale mint for the tip and an olive for contrast at the adjacent nail or as negative-space framing. From this set of ten greens (511–520) choose the pale mint as your tip shade and a midpoint olive for the opposing field. Expect 60–120 seconds per cure under an LED/UV lamp; factor two thin passes plus a tack-wipe into your service timing.
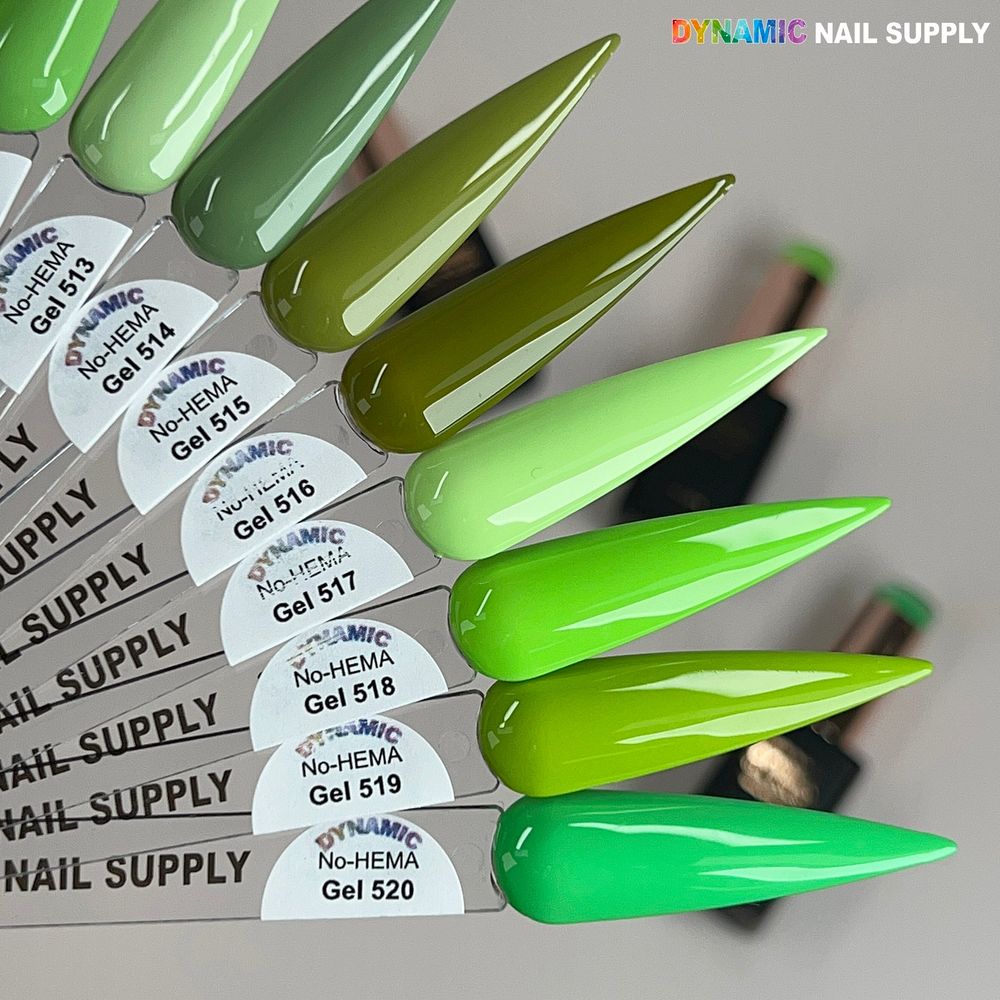
A cohesive range of ten glossy green creams.
Tools, station and stencil choices
Use a fine synthetic brush for freehand smile lines or a reusable French stencil for exact arcs. We keep a 3 mm angled detail brush, lint-free wipes, 15 ml gel bottles on the rail, and a medium-density rubber tip for gentle push-back. For negative-space versions, clear striping tape or crescent stencils give a crisp edge without excess cleanup.
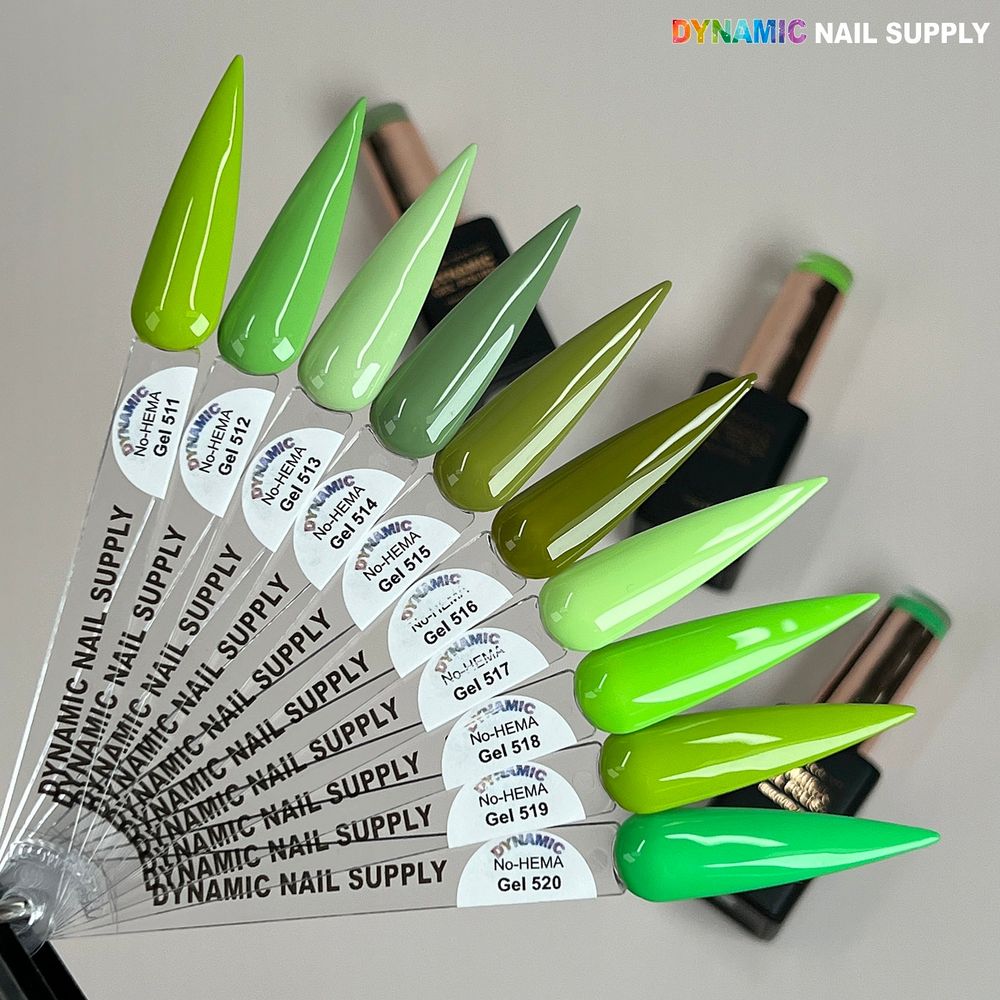
Pale mint and olive shades for botanical tips.
Prep and base application
We always start with a dehydrated, mattified nail surface. Lightly buff the natural plate, remove dust, and apply a thin adhesion base. Cure per manufacturer guidelines. For long wear and consistent coverage with high-pigment creams, apply a thin soakable barrier at the cuticle line when needed to prevent flooding. A light first pass with pale mint establishes opacity faster on mint shades.
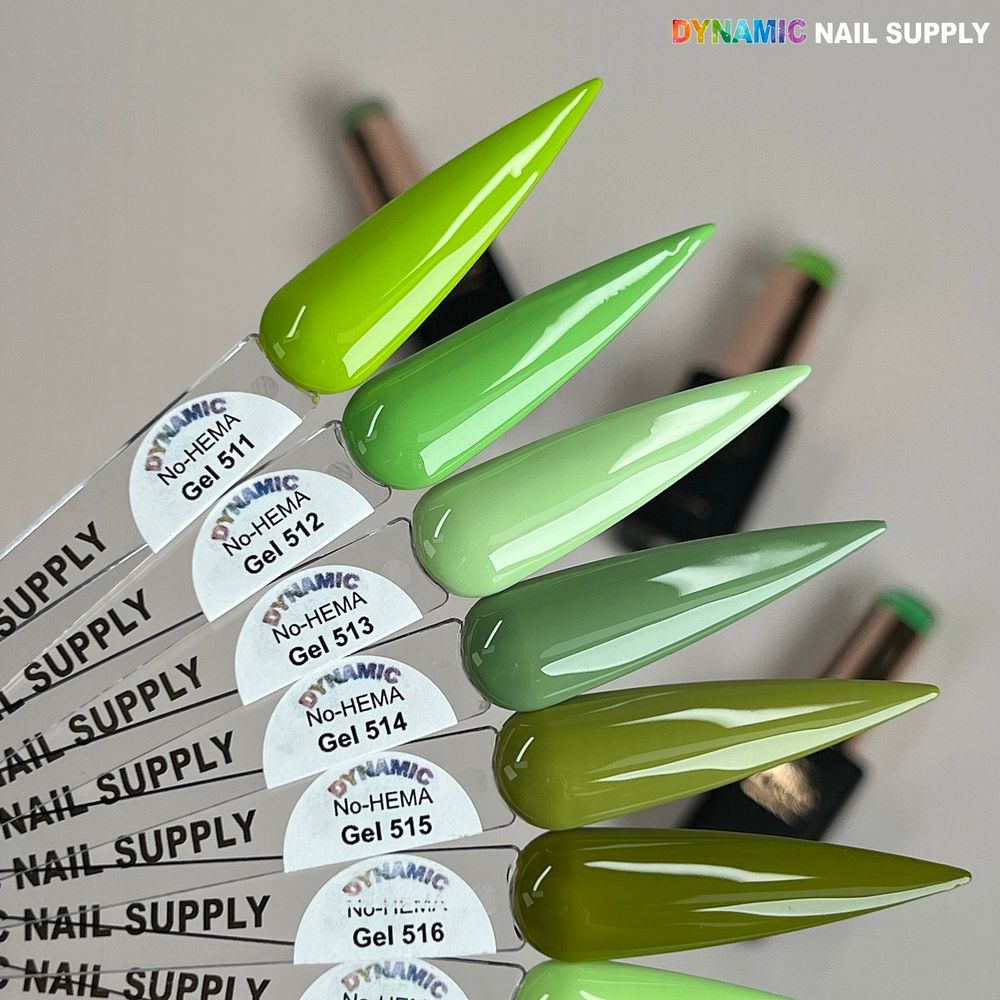
Neon chartreuse through deep olive in glossy cream.
Placement and masking for botanical French tips
Decide smile-line position by shape: lower for long nails, higher for short nails. For a botanical look, we use a sharp crescent tip on the free edge and a tapered leaf suggestion pointing toward the cuticle on one or two accent nails. Masking approach:
- Stencil first: place the crescent stencil to expose only the free edge, paint the pale mint in two thin layers, curing between coats.
- Freehand edge: for a soft leaf, load a detail brush with olive and drag a curved stroke from the smile-line into the body, tapering the stroke to form a leaf tip.
- Negative-space option: leave a 1–2 mm transparent strip between the mint tip and the olive leaf to emphasize contrast.
Color choices from this set
Pick high-contrast pairs: a soft pale mint for delicate tips against a mid-olive for the leaf and framing. The set covers vivid neon chartreuse through muted olives; select shades that read opaque after two thin passes. The greens are all high-gloss creams and cover reliably when applied in controlled thin layers.
Layering and curing notes
We use a two-pass approach: thin first pass to seal and smooth, cure; second pass for opacity and crisp line. For detail work use a tack-wipe only after the final color cure so the edge remains sharp under the topcoat. If you plan a mixed gloss/matte finish, fully cure the gloss sections first, then apply a matte topcoat to selected nails and re-cure per product instructions.
Cleanup, edge work and top finishing
Clean excess with a 90-degree angled brush dipped in gel cleanser before final cure for the cleanest smile-lines. Apply a high-gloss gloss coat over the whole nail to lock in the botanical shapes, or use a selective matte for contrast. Ensure final cure and then perform a gentle oil application at the cuticles — we recommend saving oil for after the service to avoid surface disruption during photography.
Pro tip: When painting neon chartreuse or bright lime accents, reduce brush load and build opacity with two thin passes to avoid pooling at the free edge.
Pro tip: For repeatable leaf shapes, practice a single tapered stroke motion and keep the brush heel lightly anchored on the plate for stability.
Spotlight: No-HEMA Gel 511
No-HEMA Gel 511 appears on the swatch fan as the palest mint in the group. Use Gel 511 for delicate botanical tips where you want a soft, fresh contrast to deeper olives. It cures glossy and opaque in thin layers and works well as the visible tip shade in a monochrome green manicure.
Safety and handling
Work in a ventilated area and avoid skin contact during application. Since these are HEMA-free formulations, they reduce occupational exposure to that specific monomer, but we still follow standard salon hygiene: gloves when required, careful bottle storage, and lamp-safe curing practices. Dispose of contaminated wipes and clean brushes between clients.
We recommend pricing this add-on service to reflect the time for detailed handwork; the polishes in this set retail at $8 per 15 ml bottle but prices may change. For consistent results with botanical french tips green keep a small selection of the ten shades at your station so you can swap mint and olive tones to suit each client.
Use No-HEMA Gel Polish green cream as your primary mint or olive cream when planning tip placement and negative-space leaves for reliable coverage and a glossy finish — it helps keep the service repeatable and the colors true on camera.
We encourage you to practice the single-stroke leaf and template placements until the motion becomes muscle memory; the look sells well and is efficient once refined.