
We start with a common salon problem: toe nail services need impact without taking extra time. Clients ask for marbled, floral, or smoky finishes on toenails, but long dry times and fussy brushwork slow down service. We use a blooming gel method to get distinct, wet-marble looks on pedicures while keeping station throughput steady.
Set the station for pedicure flow
For pedicures we position everything within reach: base gel, a 15ml tube of blooming gel, a palette or glass dish, thin brushes, and the polish colors you plan to bloom. Work on clean, prepped nails and use a thin cured base color so the blooming layer sits evenly. Keep an LED or UV lamp nearby for the final cure; artwork cure time is 60 seconds under LED/UV.
Purple-focused wet-marble pedicure look
How the blooming step works on toes
Apply a thin, uncured layer of the blooming medium over the cured base color. Leave this layer uncured — the uncured surface is what allows pigments to diffuse. Drop your gel colors onto the wet blooming layer and let capillary action and the formulation produce soft-edged spots, gradients, and marble lines. On toenails we favor slightly larger drops so the bloom reads at a distance.
Build designs that hold up on toes
Use translucent nude or light base shades when you want contrast between skin and bloom. The product photo shows a purple-focused palette that blends soft lavender through bright violet into indigo, with white highlights and sharp dark plum dots. Recreate that structure on toes by layering: start with light lavenders, add mid-tone violets, and finish with small dark accents for definition. Finish each nail with a full cure and a glossy topcoat for a wet-marble look.
Quick reference sequence for a single toe: base coat → cure → thin blooming layer (uncured) → place colors → manipulate if needed → cure → topcoat → cure. Tidy the cuticle area before final cure to avoid pooling.
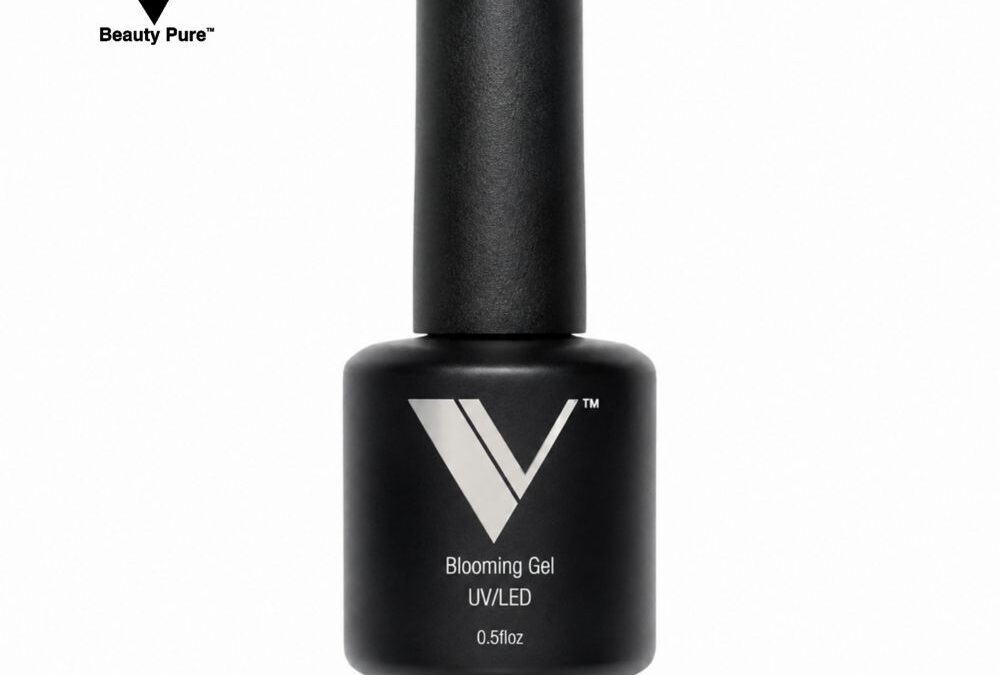
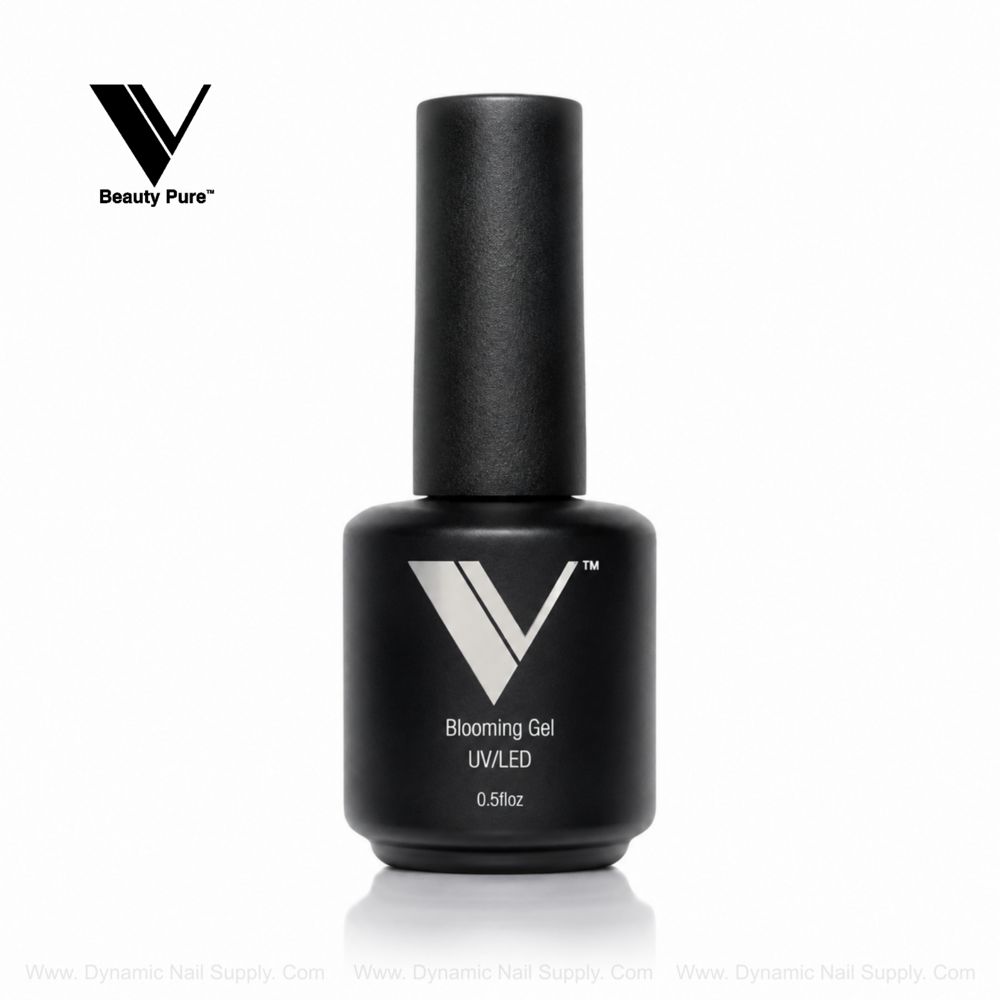
Here is the product for the technique we describe:
Tools and shapes that speed results
Long, pointed shapes read as strong statements, but for pedicures we typically adapt the bloom to shorter lengths. Use a flat, thin brush to nudge blooms into petal shapes, or a dotting tool for the crisp dark plum accents that contrast with soft diffusion. A self-leveling consistency in the blooming medium helps keep edges even across multiple toes.
Common issues and fixes
- Too fast spread: use smaller color drops or a slightly thicker base layer to slow diffusion.
- Colors muddying: let each color touch the bloom briefly rather than layering heavy strokes.
- Pooling at cuticle: remove excess before curing and use a light touch near skin.
Pro tip: For salon speed, prepare pre-mixed palettes of the three or four colors you use most for pedicures—drop size consistency saves time.
Pro tip: Use white highlights sparingly—small white spots keep the contrast crisp and make the bloom read on darker polish.
Safety, curing and finishing notes
Cure artwork according to the lamp type; a full cure is 60 seconds under standard LED/UV settings. Handle uncured gels with care to avoid skin contact. After curing, apply a durable topcoat for chip resistance on toe nails and wipe the tacky layer only if the topcoat requires it.
We list the price here as a reference: $14.70 for a 15ml pack, but prices may change. Use this medium when you want reliable diffusion control that works with any gel polish color and gives consistent visual results across pedicure services.
We encourage you to try the sequence on practice tips first, then scale the steps into your pedicure rotation. The technique gives bold, wet-marble finishes with minimal extra time—perfect for elevating toenail services without slowing the schedule.